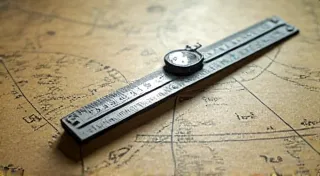
Replacing Broken Slide Rule Windows: A Step-by-Step Guide
A cracked or broken window on a vintage slide rule isn’t just aesthetically unpleasing; it compromises its functionality. While seemingly delicate, repairing these windows is a task many enthusiasts can tackle with patience and the right approach. This guide provides a detailed walkthrough for replacing broken slide rule windows, ensuring your antique engineering tool remains a valuable and usable piece of history.
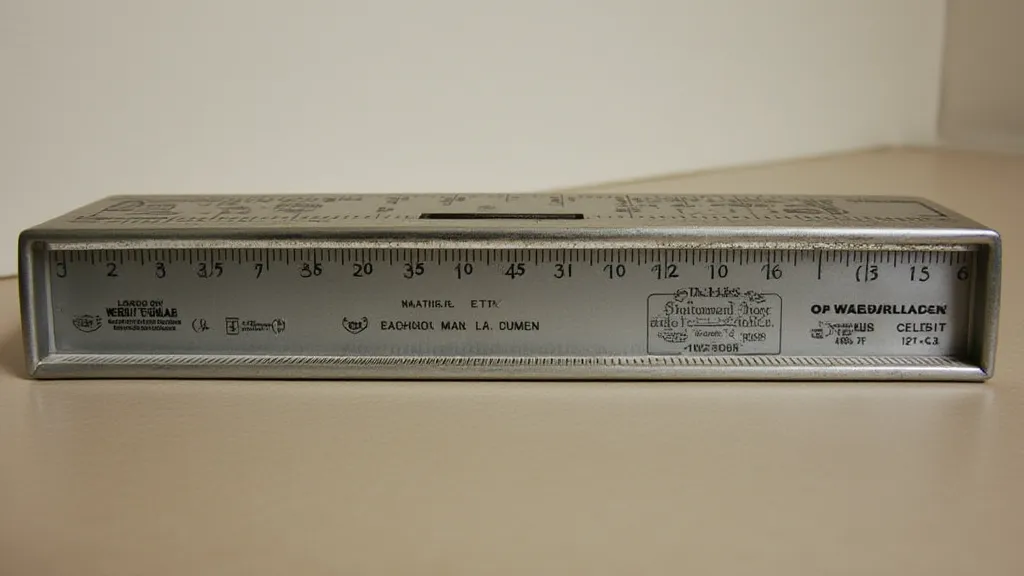
Understanding the Challenge
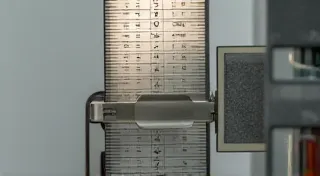
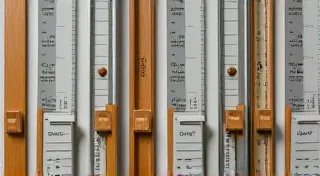
Slide rule windows are typically made of thin, clear plastic (often early plastics like celluloid or early acrylic) and are precisely fitted. Replacing them requires careful handling and attention to detail. The key is to avoid damaging the underlying slide rule body. The accuracy of calculations depends on the condition of all components, highlighting why preserving them is so vital; you might find some insight into maintaining accuracy in The Importance of Slide Rule Accuracy: Calibration and Adjustment.
Tools and Materials You’ll Need
- New Window Material: Acetate or acrylic sheet. Thickness should match the original – usually around 0.010" to 0.020". Finding a suitable colour matching original is often difficult.
- Sharp Craft Knife or Razor Blade: For cutting the new window.
- Metal Ruler: To guide the knife.
- Cutting Mat: To protect your work surface.
- Fine Sandpaper: Various grits (220, 400, 600) for smoothing edges.
- Soft Cloth: For cleaning.
- Adhesive: Specialized plastic cement or clear acrylic adhesive. Avoid solvents that could damage the slide rule body. Test in an inconspicuous area first.
- Small clamps or tape: To hold the new window in place while the adhesive dries.
- Pencil or Marking Pen: For marking the new window.
Step-by-Step Instructions
1. Removing the Broken Window
Carefully remove the broken window fragments. If the old adhesive is brittle, use a small, flat tool (like a putty knife) to gently pry the pieces loose. Be extremely cautious not to scratch the slide rule body. Work slowly and methodically.
2. Cleaning the Channel
Once the old window is removed, thoroughly clean the channel where the new window will sit. Remove any remaining adhesive residue. Acetone or isopropyl alcohol (test first!) can be used, but be careful not to damage the slide rule’s finish.
3. Creating a Template
This is critical for accurate replacement. The best approach is to carefully trace the outline of the existing channel onto a piece of paper or thin plastic. This will serve as your template. Accurate templates are vital for preserving the precision that makes slide rules so valuable; ensuring long-term care and preserving them for future generations, just as one might find advice on Protecting Your Slide Rule Collection: Storage and Preservation.
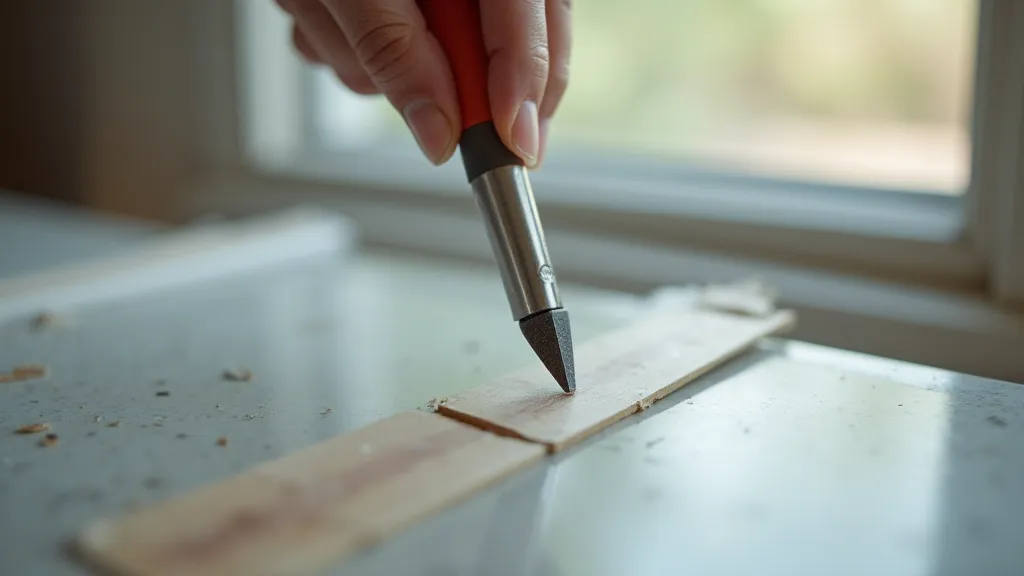
4. Cutting the New Window
Place the template onto your new window material. Using the craft knife and metal ruler, carefully cut along the template line. Multiple light passes are better than one heavy pass to avoid tearing the material.
5. Test Fitting
Before applying adhesive, test fit the new window. It should slide smoothly within the channel without being too tight or too loose. If it’s too tight, carefully trim the edges. If it's too loose, consider a very thin shim (difficult to achieve properly).
6. Applying the Adhesive
Apply a thin, even layer of adhesive to both the slide rule channel and the edges of the new window. Follow the adhesive manufacturer's instructions regarding drying time or open time. Avoid getting adhesive on the surface of the window.
7. Positioning and Securing
Carefully position the new window into the channel. Use small clamps or tape to hold it securely in place while the adhesive dries completely. Ensure the window is perfectly aligned.
8. Smoothing and Finishing
Once the adhesive is fully dry, carefully inspect the edges of the window. Use fine sandpaper to smooth any rough edges. This will improve the appearance and prevent snagging.
Important Considerations
- Material Compatibility: Ensure the new window material is compatible with the original slide rule body to avoid discoloration or damage. Some plastics react unexpectedly, so careful selection is key.
- Solvent Testing: Always test any solvents or adhesives in an inconspicuous area first. This seemingly minor step can prevent irreversible damage to your valuable instrument.
- Patience and Precision: This repair requires patience and a steady hand. Rushing the process can lead to further damage. Remember that many vintage slide rules were made from materials sensitive to moisture and temperature fluctuations; a good approach to maintaining them might also involve understanding how wooden components react, similar to advice found in Maintaining Wooden Slide Rules: Preventing Warping and Cracking.
- Historical Context: Slide rules represent a fascinating intersection of engineering, mathematics, and manufacturing. Understanding their history and the evolution of their construction can deepen your appreciation for their functionality and longevity. While this process focuses on a common repair, a deeper dive into the nuances of construction can be very rewarding.
Beyond this repair, the world of slide rules encompasses a wide range of models, each with its unique features and design. For those interested in the rich legacy of these tools, particularly those produced by the renowned Pickett company, further exploration into their most popular models can be incredibly informative. You might appreciate a more detailed look at The Pickett Slide Rule Legacy: A Detailed Look at its Popular Models.
Replacing a broken slide rule window is a rewarding project that allows you to preserve a piece of engineering history. By following these steps carefully, you can restore your vintage slide rule to its former glory. With diligent care and occasional maintenance, these remarkable instruments can continue to inspire and educate for generations to come.
Further Resources:
- Online Forums and Communities: Numerous online forums and communities are dedicated to slide rules, where enthusiasts share knowledge, ask questions, and offer assistance.
- Museums and Collections: Visiting museums and private collections that feature slide rules can provide valuable insights into their history and construction.
- Technical Manuals and Documentation: Original technical manuals and documentation for slide rules can provide detailed information about their operation and maintenance.