Stabilizing Loose Slide Rule Components: Glue and Techniques
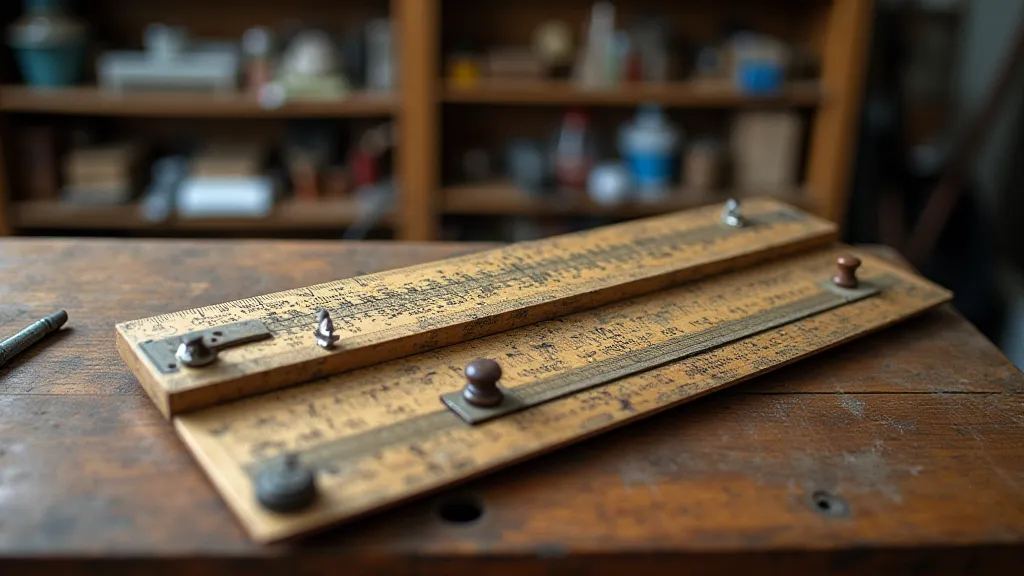
One of the most common issues encountered when restoring vintage slide rules is the loosening of components. This can range from a wobbly cursor assembly to a shifting main scale or a loose indicator. While seemingly minor, these issues can hinder accurate calculations and compromise the slide rule’s overall functionality and value. This article details several techniques and glue choices for stabilizing these parts, ensuring a secure and lasting repair. For those passionate about preserving historical tools and artifacts, understanding their intricacies and maintenance is crucial, much like in understanding protecting your slide rule collection, ensuring their longevity.
Understanding the Problem
The looseness often arises from years of use, temperature fluctuations, and the natural degradation of materials. Early slide rules often utilized animal glues (hide glue, fish glue) which, over time, dry out and crack. Modern slide rules might use more resilient synthetic adhesives, but even these can succumb to age and usage. The challenge lies in choosing a compatible adhesive that doesn's damage the existing materials (wood, celluloid, Bakelite, etc.) and provides a strong, lasting bond. Often, the condition of a slide rule tells a story of its past use and the environments it has endured, a narrative that can be both fascinating and requiring careful attention. This careful attention extends not just to the internal mechanics but also to any accompanying slide rule accessories like scales, cases, and other essential items, all vital to its overall preservation.
Choosing the Right Glue
The selection of adhesive is crucial. Here's a breakdown of popular choices, considering their strengths and weaknesses:
- Hide Glue (Liquid or Powdered): A traditional choice, often the original adhesive used in older slide rules. Reversable with heat and moisture, making it ideal for preserving historical integrity. Requires specific preparation and application skills. Good for repairs where originality is paramount. Understanding the historical context is key; for example, a craftsman’s tools often speak volumes about their era, similar to the stories held within antique navigational instruments.
- Fish Glue: Similar properties to hide glue, but can have a stronger odor.
- Titebond Original Wood Glue (Polyvinyl Acetate - PVA): A common and readily available PVA glue. Provides a strong bond to wood and some plastics, offering a good balance of strength and ease of use. Generally considered a safe choice for most repairs.
- Slow-Setting Cyanoacrylate (CA) Glue (Super Glue): Offers rapid bonding and is useful for temporary fixes or small, precise repairs. However, it can be brittle and prone to cracking, and can be difficult to remove. Use sparingly and cautiously. Consider using a flexible CA adhesive for better results.
- Epoxy Resin: Provides an extremely strong and durable bond, suitable for repairing damaged or heavily deteriorated components. Can be more difficult to work with and may require clamping.
Stabilization Techniques
Regardless of the glue chosen, proper preparation is key. Here are some techniques for securing loose components:
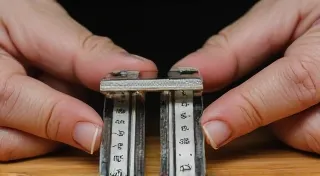
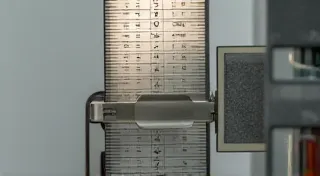
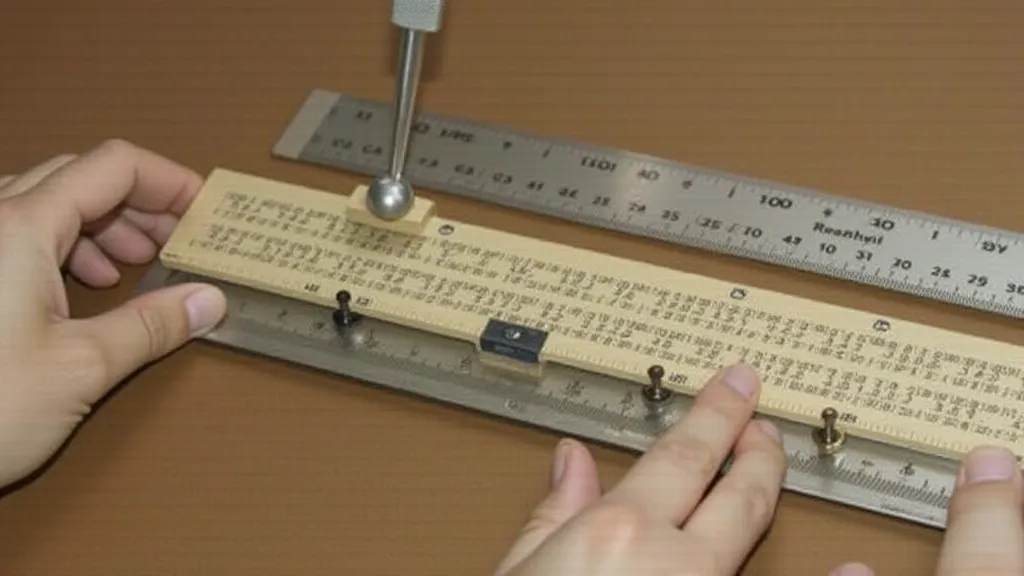
- Cursor Assembly Stabilization: Often, the cursor assembly (the sliding indicator) becomes loose within its housing. Clean both surfaces thoroughly with a mild solvent (isopropyl alcohol is usually safe) to remove old glue residue and contaminants. Apply a thin, even layer of glue to both surfaces and carefully clamp or hold them together until the glue sets. A small block of wood and rubber bands can serve as a simple clamping system. The precision involved in these repairs echoes the delicate balance required in fields like cartography, where accuracy is paramount and often reflected in the tools used.
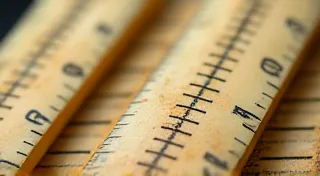
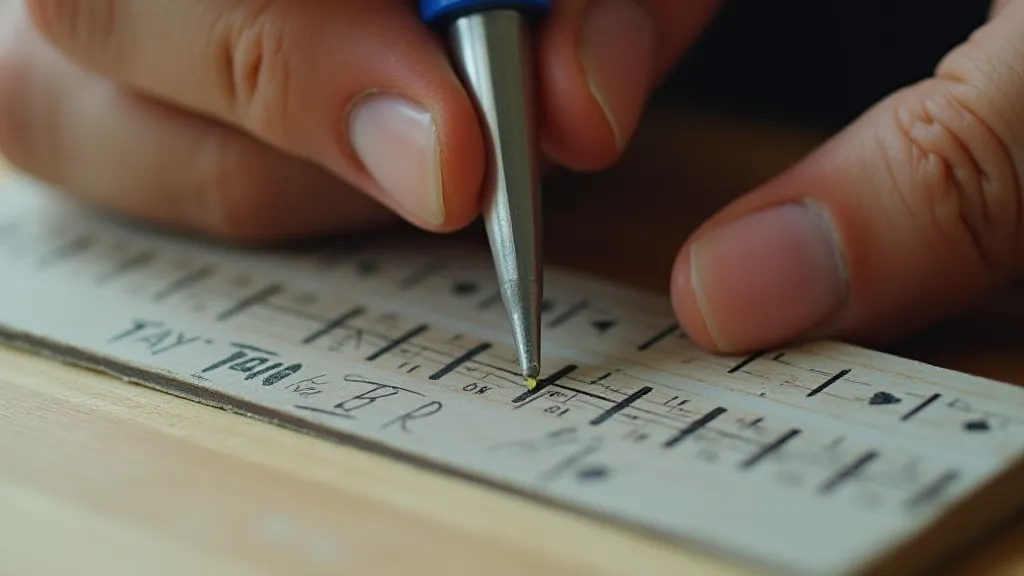
- Securing Main Scales: If the main scales (the printed lines) are peeling or lifting from the body, a more delicate approach is needed. A thin layer of hide glue or PVA is typically used. Clean the surfaces, apply the glue sparingly, and use a soft cloth to press the scale firmly back into place. Weighting the area while the glue dries can help ensure proper adhesion. The careful re-adhesion of these scales often requires a steady hand and a thorough understanding of the material properties to avoid further damage.
- Loose Indicator Lines: Similar to main scales, these can be secured with a thin layer of glue and gentle pressure.
- Dealing with Cracks and Chips: For more significant damage, epoxy resin or a two-part adhesive may be required. Ensure proper alignment and use clamps to hold the pieces together while the adhesive cures. Repairing these kinds of fractures is a testament to the ingenuity required to both create and maintain these complex instruments.
Important Considerations
Restoring a slide rule is more than simply gluing pieces back together; it's a process of preserving a piece of history, understanding its function, and appreciating the skill that went into its creation. Factors beyond adhesive choice impact the final outcome, requiring a nuanced approach for each repair.
- Testing: Before tackling a full repair, always test the chosen adhesive on an inconspicuous area to ensure it doesn't damage the material. This is crucial, as some adhesives can react unexpectedly with certain materials, leading to discoloration or further degradation.
- Ventilation: Work in a well-ventilated area, especially when using strong adhesives. Many adhesives release harmful fumes that can be irritating or even dangerous if inhaled.
- Cleanliness: Clean surfaces are essential for a strong bond. Any dirt, grease, or old adhesive residue can compromise the adhesion.
- Patience: Allow adequate drying and curing time for the adhesive to fully bond. Rushing the process can compromise the repair.
- Reversibility (Where Possible): If you are unsure about the repair, or if the slide rule is of high value, prioritize adhesives and techniques that allow for potential reversibility, such as hide glue. This ensures that any repair can be undone if necessary, minimizing the risk of permanent damage.
- Understanding Material Properties: Each component of a slide rule – the main body, scales, cursor, and other parts – is made of different materials, each reacting differently to adhesives and environmental factors. This necessitates a tailored approach, informed by a deep understanding of material science.
- Historical Accuracy: When restoring a vintage slide rule, maintaining its original appearance and functionality is paramount. This means using adhesives and techniques consistent with the era in which the slide rule was manufactured.
By understanding the causes of loose components and employing the right techniques and adhesives, you can effectively stabilize your vintage slide rules, preserving their functionality and extending their lifespan for generations to come. The echoes of past calculations and the legacy of scientific advancement reside within these instruments, deserving of careful stewardship. As with any antique, understanding its history and construction adds a depth of appreciation and informs the restoration process. It's a journey that extends beyond mere repair, embracing the broader context of technological evolution and the human ingenuity that brought us these remarkable tools.